> ## Documentation Index
> Fetch the complete documentation index at: https://nuggets.life/docs/llms.txt
> Use this file to discover all available pages before exploring further.
# Right To Work (RTW)
Right-to-Work checks are available as a pay-as-you-go service with no minimum or maximum spend. To run checks as a verified business - with the ability to add employees and send verified business requests - you'll need to set up an organisation verified with the identity of a Companies House, named director.
This right-to-work service uses email to send the request and receive the result. \
\
If you'd prefer to integrate directly with your company's systems, visit the Nuggets [accounts portal](https://accounts.nuggets.life/) developer section.
**Before You Begin**\
To use Nuggets, you'll need to download the mobile app and register with your photo ID before you can log in. App setup involves an identity verification process, including a government-issued ID and a biometric and liveness check. Full details can be found in the[ Identity Wallet Setup guide](https://www.nuggets.life/docs/getting-started/identity-wallet-setup).
**Logging In**\
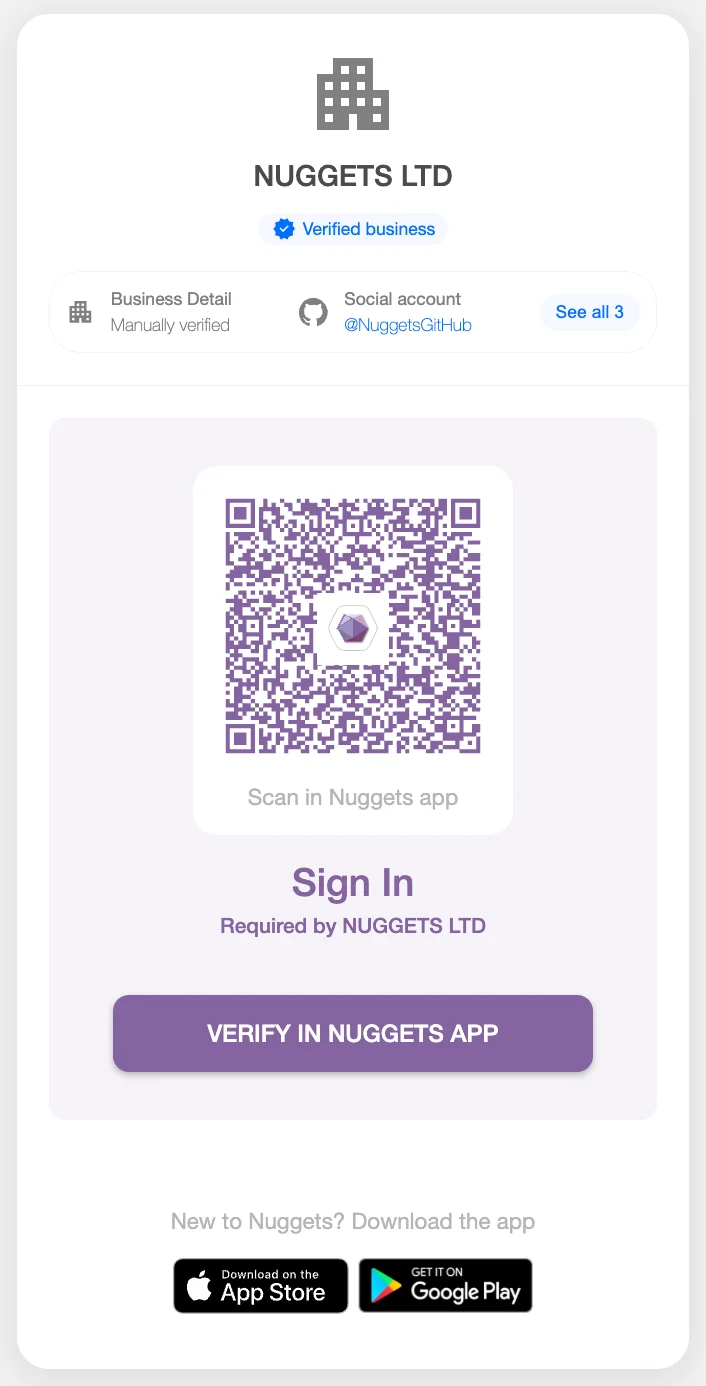
Once your app and profile are ready, go to the Nuggets [accounts portal](https://accounts.nuggets.life/) and hit **Login**. You'll be shown a screen with a QR code - scan this using your Nuggets App or press the “VERIFY IN NUGGETS APP” button if you're on a mobile device.
 **Setting Up Your Organisation**\
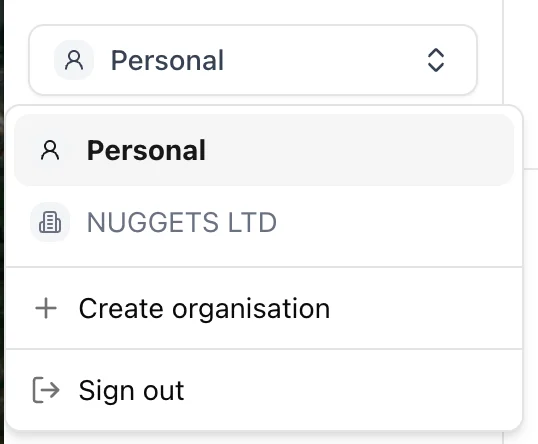
Once logged in, click on the dropdown menu set to 'Personal' and select **Create Organisation**. Follow the on-screen steps to complete setup. As part of this, you'll need to add a payment card to your Nuggets app - the card must be in the same name as the photo ID used during identity verification. Note that a named director of the business is required to create an organisation. You can run checks from a personal account, but you won't have the benefits of adding employees or sending requests as a verified business.
**Setting Up Your Organisation**\
Once logged in, click on the dropdown menu set to 'Personal' and select **Create Organisation**. Follow the on-screen steps to complete setup. As part of this, you'll need to add a payment card to your Nuggets app - the card must be in the same name as the photo ID used during identity verification. Note that a named director of the business is required to create an organisation. You can run checks from a personal account, but you won't have the benefits of adding employees or sending requests as a verified business.
 **Adding Employees**\
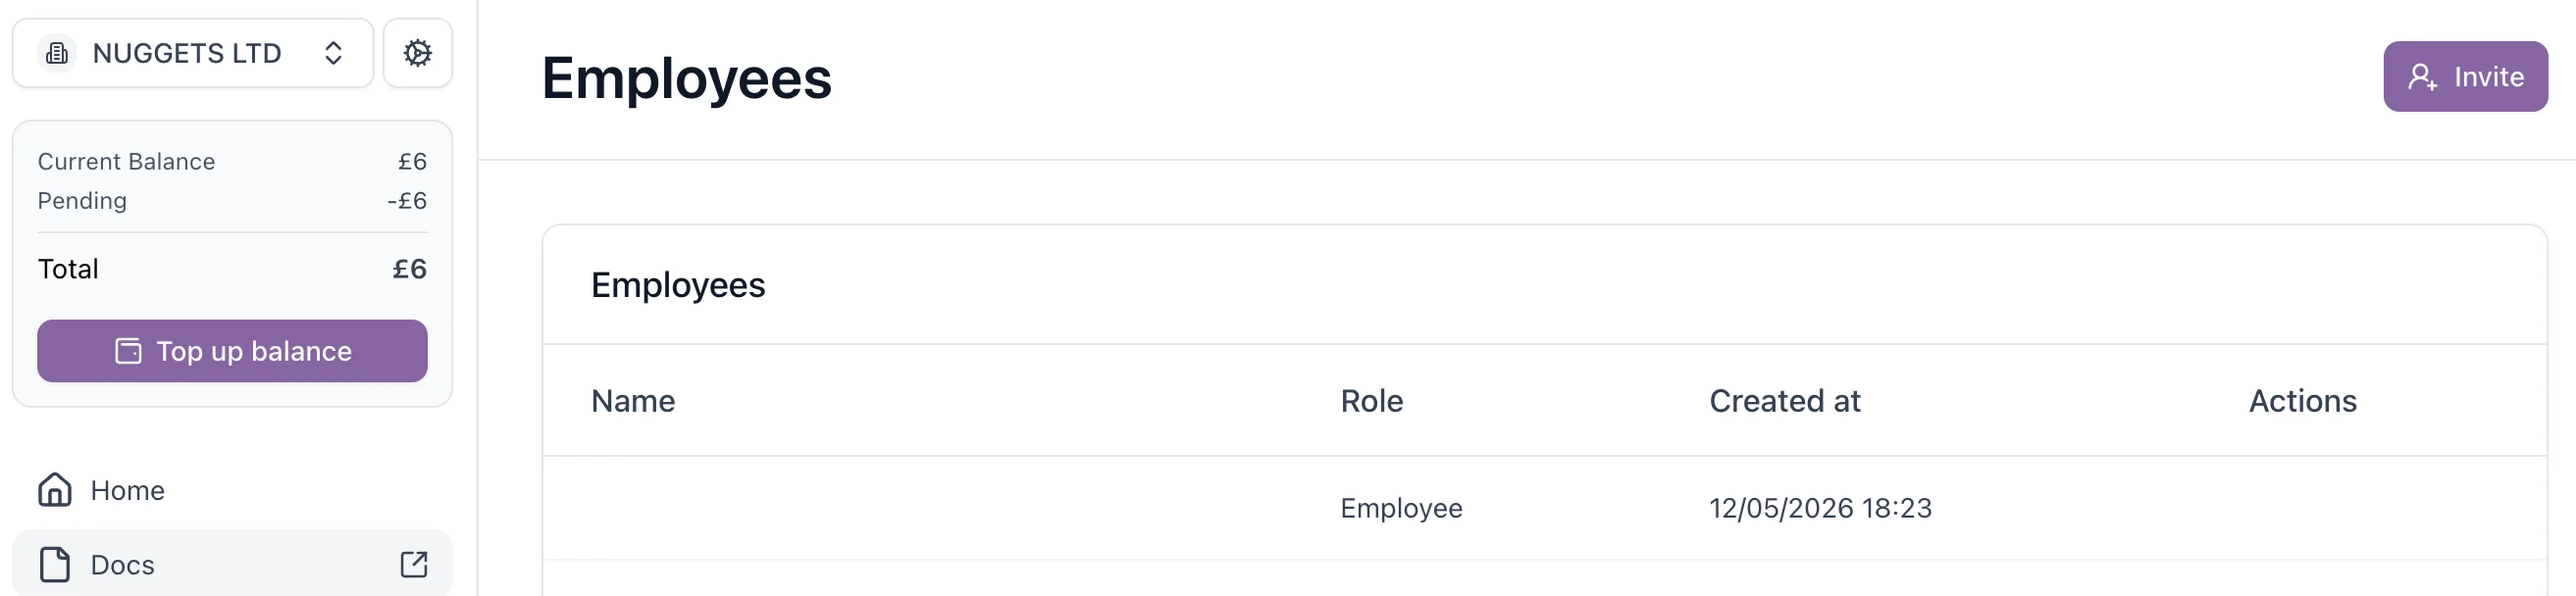
To add employees to your organisation, go to the Employees section in the side menu and hit Invite. Enter the email address(es) of the people you'd like to add and hit Submit.
Once an employee has been added, they'll need to share their profile with the organisation before their name will be visible to you as the org manager. Until they do this, their entry will appear without a name in the Employees list.
**Adding Employees**\
To add employees to your organisation, go to the Employees section in the side menu and hit Invite. Enter the email address(es) of the people you'd like to add and hit Submit.
Once an employee has been added, they'll need to share their profile with the organisation before their name will be visible to you as the org manager. Until they do this, their entry will appear without a name in the Employees list.
 **Adding Funds**\
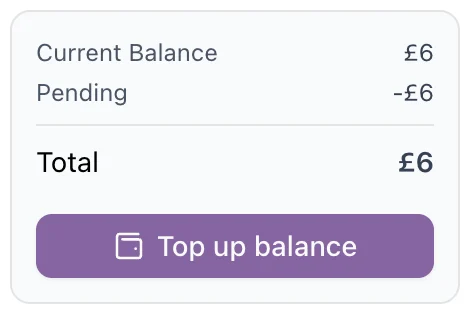
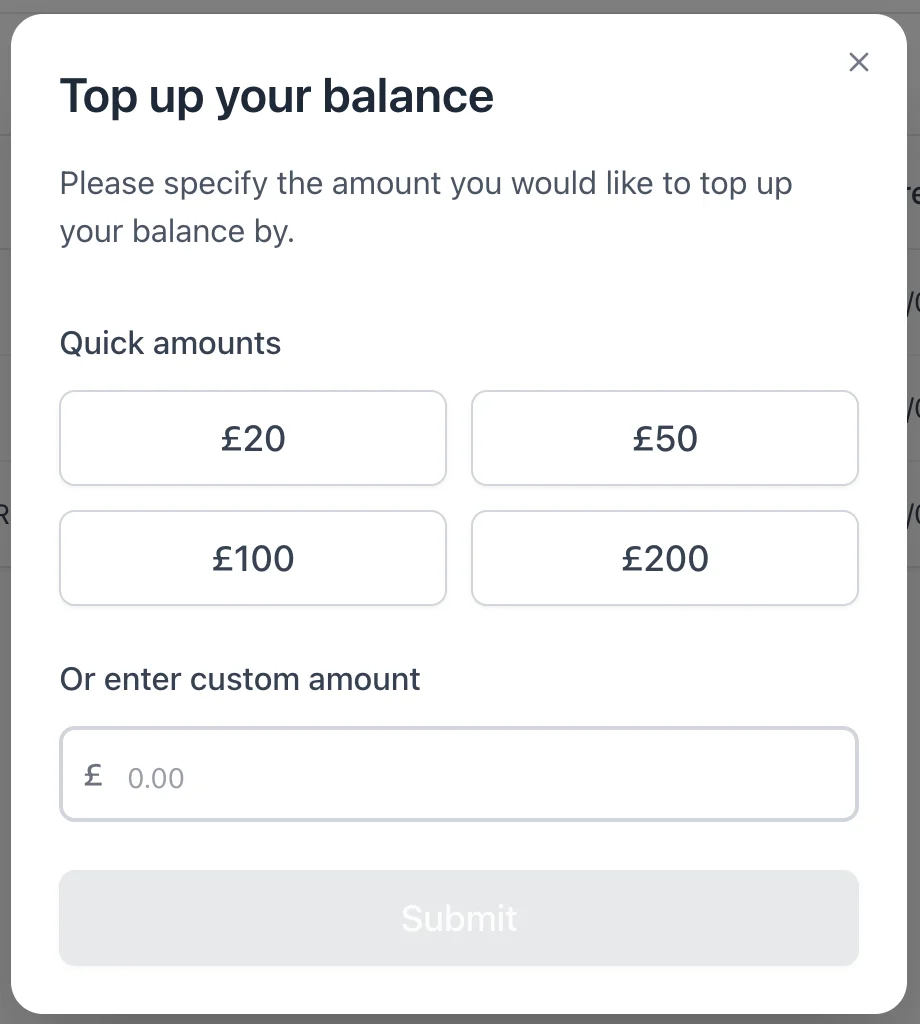
Before running any checks, top up your account balance. The named director should initially add funds. Once other team members have been added as employees, they can add funds too. Hit Top up balance in the portal and specify the amount you'd like to add.
**Adding Funds**\
Before running any checks, top up your account balance. The named director should initially add funds. Once other team members have been added as employees, they can add funds too. Hit Top up balance in the portal and specify the amount you'd like to add.
 **Sending a Right to Work Check**\
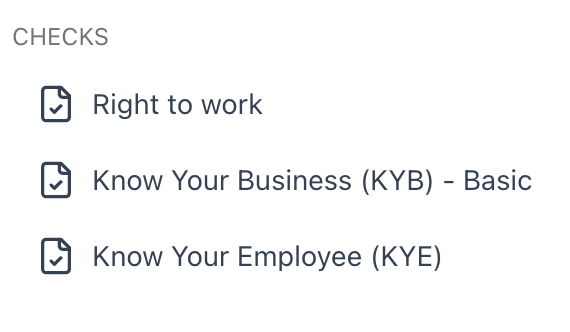
Once your balance is topped up, select **Right to Work** from the Checks section.
**Sending a Right to Work Check**\
Once your balance is topped up, select **Right to Work** from the Checks section.
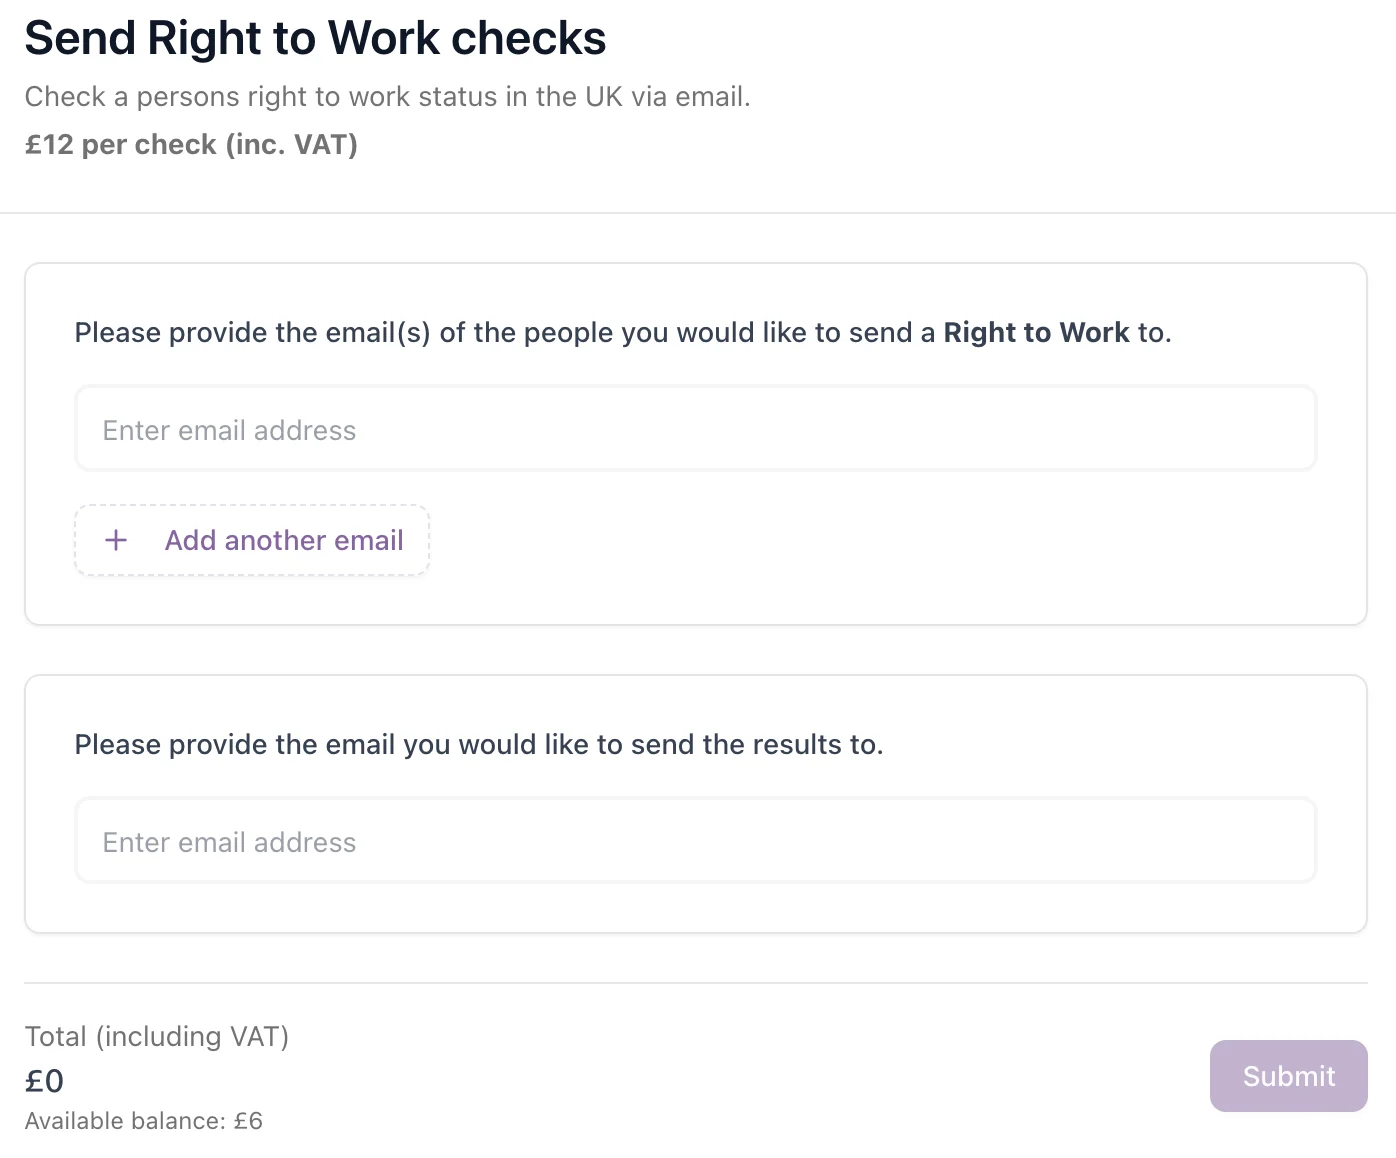
 Hit **Send** to initiate a check, then follow the on-screen instructions to enter:
* The **recipient's email address** (the person completing the check)
* The **results email address** (where you'd like the outcome sent - e.g. yourself or your HR manager)\\
Hit **Send** to initiate a check, then follow the on-screen instructions to enter:
* The **recipient's email address** (the person completing the check)
* The **results email address** (where you'd like the outcome sent - e.g. yourself or your HR manager)\\
 **Tracking & Completion**\
After sending, return to the Right to Work checks page at any time to view the status of your check. Once the recipient has completed the process, a confirmation email will be sent to the results address you provided, containing the following information:
**Passport**
| Field |
| ------------------------------------ |
| Name |
| Date of Birth |
| Document Type |
| Country of Origin |
| Expiry Date |
| Identifier |
| Image from the Photo ID |
| Image captured at the point of check |
**Home Office Share Code**
Where the candidate provides a Home Office share code as part of the check, the confirmation email also includes:
**Share Code**
| Field |
| ----------------------------------------------------- |
| Right to work outcome, as returned by the Home Office |
| PDF copy of the official Home Office result |
This is in addition to the passport detail above, not a replacement for it.
**Tracking & Completion**\
After sending, return to the Right to Work checks page at any time to view the status of your check. Once the recipient has completed the process, a confirmation email will be sent to the results address you provided, containing the following information:
**Passport**
| Field |
| ------------------------------------ |
| Name |
| Date of Birth |
| Document Type |
| Country of Origin |
| Expiry Date |
| Identifier |
| Image from the Photo ID |
| Image captured at the point of check |
**Home Office Share Code**
Where the candidate provides a Home Office share code as part of the check, the confirmation email also includes:
**Share Code**
| Field |
| ----------------------------------------------------- |
| Right to work outcome, as returned by the Home Office |
| PDF copy of the official Home Office result |
This is in addition to the passport detail above, not a replacement for it.