> ## Documentation Index
> Fetch the complete documentation index at: https://nuggets.life/docs/llms.txt
> Use this file to discover all available pages before exploring further.
# AI Agent Authentication
> Secure AI agent authentication with cryptographic verification. Create authenticated agents, download private keys, and verify tokens to prevent bad actors.
Nuggets gives your AI Agent a secure way to prove it is not a bad actor.
See an example of Nuggets authentication integrated with Google's A2A protocol
demo.
## Getting Started
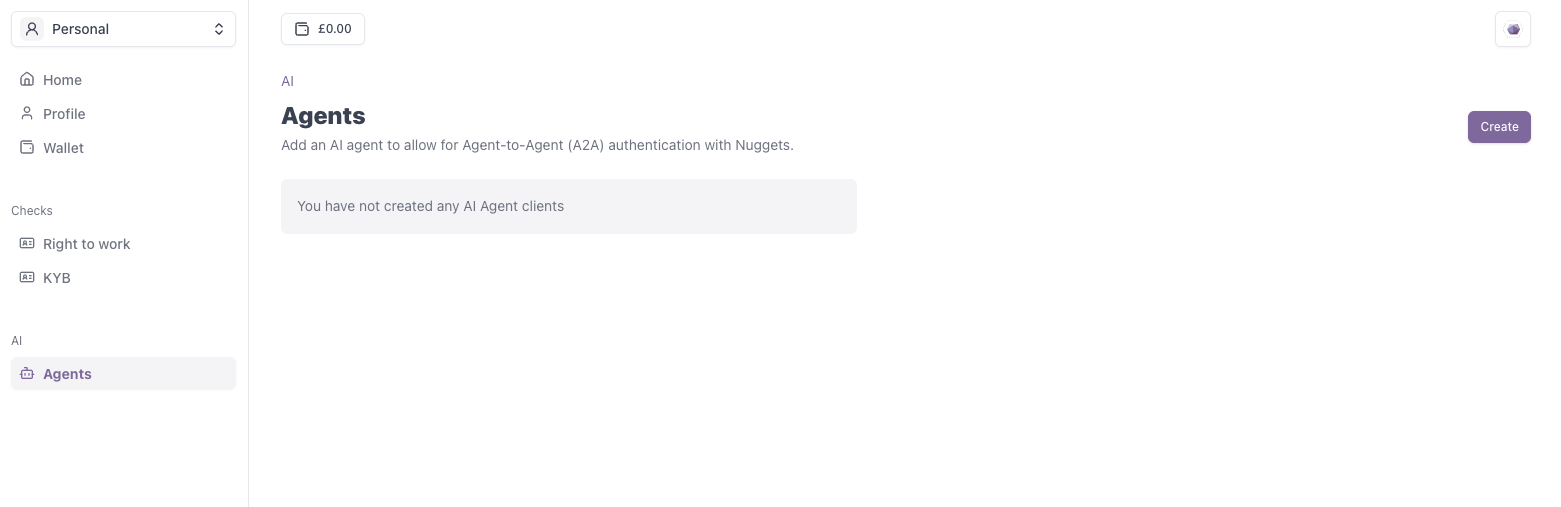
Go to the [Nuggets Account Portal](https://accounts.nuggets.life) and navigate to the AI Agents page to create your first agent.
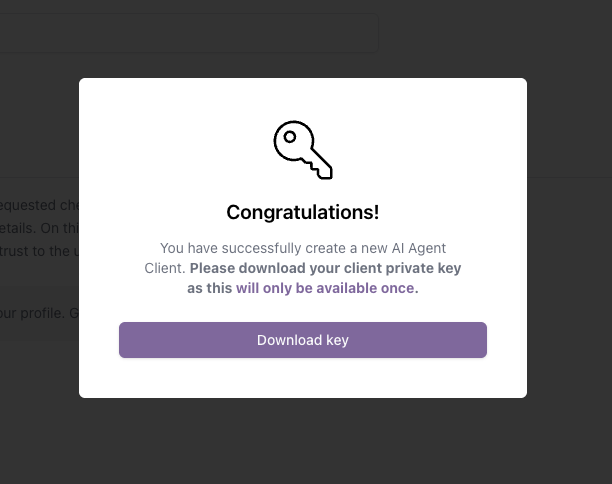
Once created, you will be prompted to download the private key for this client. **It is important you save this file.**
This key is only available once and is needed to successfully authenticate your AI Agent.
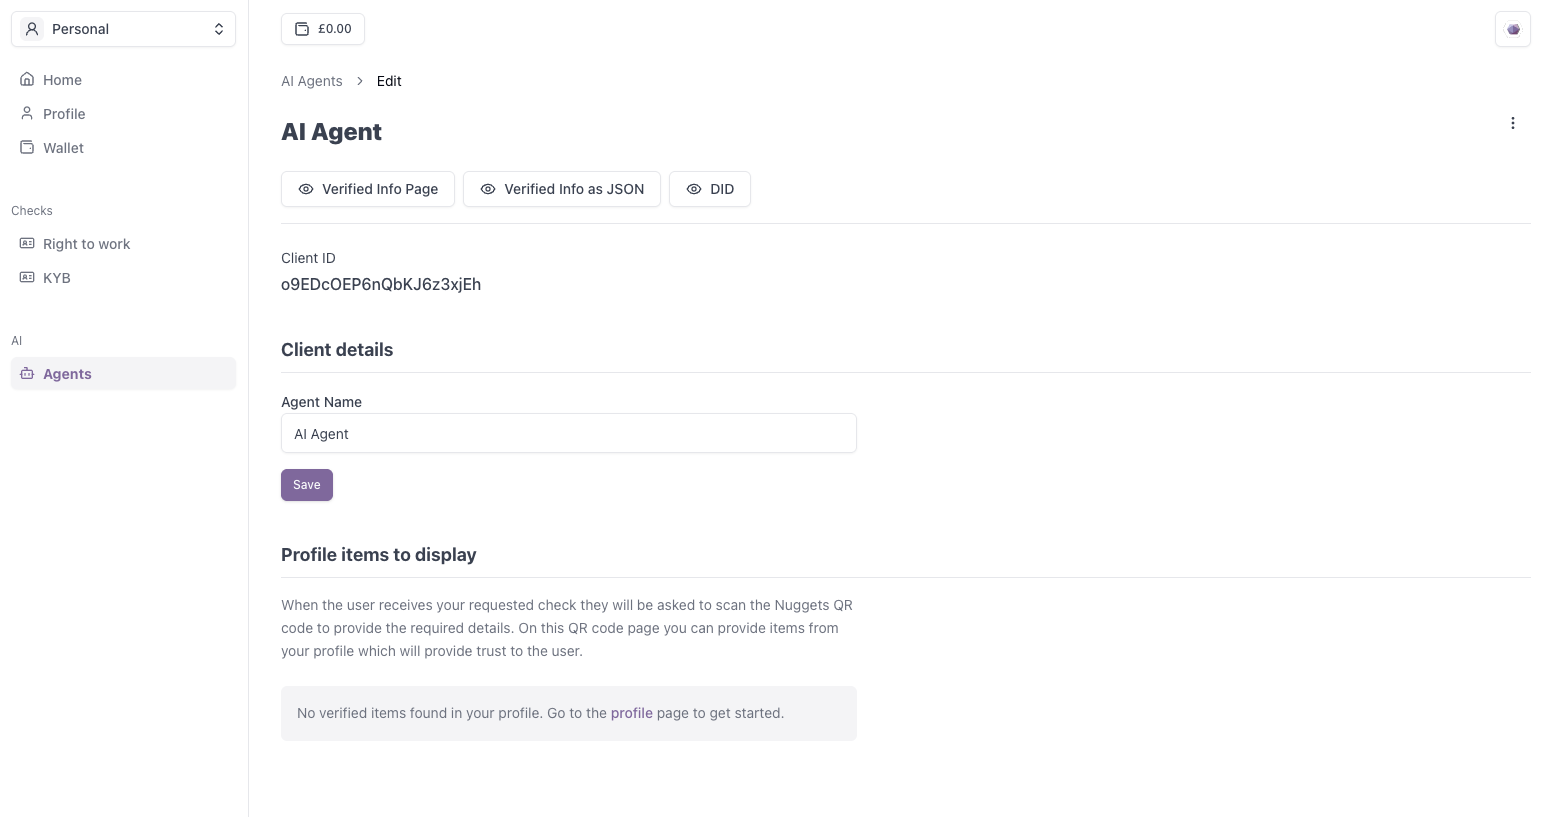
Within Nuggets, you can build greater trust by adding verified information—such as a validated social media account for either the AI Agent or its creator.
## Authenticating The Agent
Now you have created the Agent inside the Accounts Portal, we can use the created details to authenticate the agent.
### 1. Install the authentication package.
To get started, firstly install the authentication package on the `agent` and `server`.
```bash theme={null}
npm install @nuggetslife/auth
```
Next, you'll need to add the private key and the DID provided from the accounts portal to your `agent` environment:
```bash theme={null}
export NUGGETS_DID=
export NUGGETS_PRIVATE_JWK=
```
### 2. Expose an authentication endpoint on the Agent.
Expose an endpoint on your agent which allows for the JWT token to be generated (via `createAuthenticationToken`). Under the hood, this uses your downloaded private key and assigns the DID to the payload.
```typescript Create the authentication token on the agent (express example). theme={null}
// # Agent
import type { Request, Response } from "express";
import { createAuthenticationToken } from "@nuggetslife/auth/ai";
app.get("/authenticate", async (req: Request, response: Response) => {
const token = await createAuthenticationToken();
res.send(token);
});
```
### 3. Verify the token
Once the requesting `server` receives the token, you are then able to verify it using the `verifyToken` function. If successful, this will return the DID Document for the client. If unsuccessful, the agent is potentially a bad actor.
You can get the details from your clients DID Document by extracting the
client ID from your DID and navigating to\` \`
`https://auth.nuggets.life/{CLIENT_ID}/.well-known/did.json`
```javascript Authenticate the agents token. theme={null}
import { verifyToken } from "@nuggetslife/auth/ai";
function getTokenFromAgent() {
return fetch("AGENT_URL/authenticate").then((res) => res.json());
}
export async function authenticate() {
try {
const token = await getTokenFromAgent();
const { did } = await verifyToken(token);
} catch (error) {
console.error("Error verifying the token");
}
}
```
#### Verify token response
The DID Document resolved from the DID in the token.
An object of services
Returns the URL to get the verified information as JSON
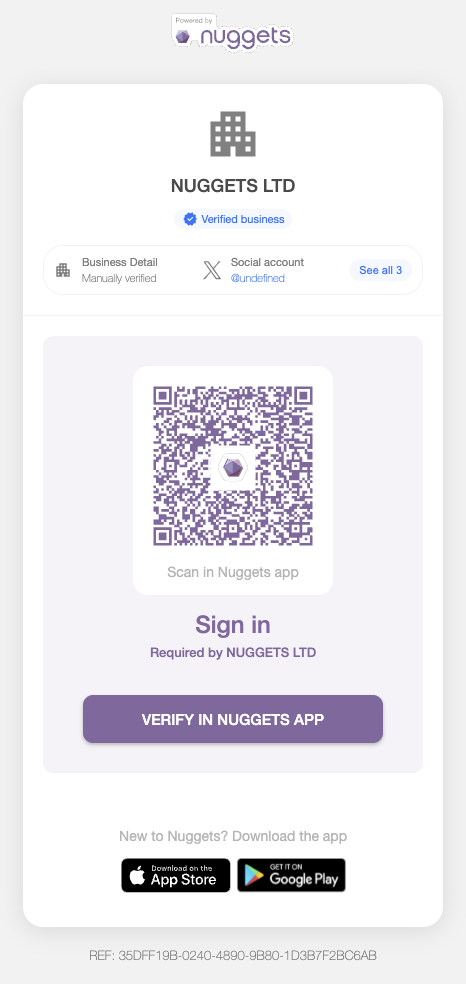
See a hosted page with the details of you AI Agent
### 4. Additional Information
Once a successful connection is made, you're then able to retrieve more information about the `agent` via the `verifiedDetails` call. This calls the `service`s that are returned as part of the client's DID Document.
You can get the verified information about your client by **extracting** the
client ID from your DID and navigating to\` \`
`https://auth.nuggets.life/verified-info/{CLIENT_ID}/json`
```typescript Get Verified Information theme={null}
import { getVerifiedDetails } from "@nuggetslife/auth/ai";
export async function authenticate() {
try {
const token = await getTokenFromAgent();
const { did } = await verifyToken(token);
const verifiedDetails = await verifiedDetails(did);
} catch (error) {
console.error("Error verifying the token");
}
}
```
### 1. Add your environment variables
```bash theme={null}
export NUGGETS_DID=
export NUGGETS_PRIVATE_JWK=
```
### 2. Generate Token
On your `agent`, start by creating an authentication endpoint that your `server` can call. This endpoint should return a JWT containing the DID, signed with your private key.
### 3. Verifying the Agent’s Identity with `did:web`
Once the server receives the JWT from the agent’s authentication endpoint, it must decode and verify it using the DID provided in the token.
The JWT payload should include a sub or custom claim containing the agent’s
DID:
`did:web:auth.nuggets.life:CLIENT_ID`
To verify the JWT, the server must resolve the DID to retrieve the associated public key.
For `did:web`, the DID translates to a standard HTTPS URL. Replace : with / after did:web: and append /did.json. For example:
`did:web:auth.nuggets.life:CLIENT_ID → https://auth.nuggets.life/CLIENT_ID/did.json`
Use the public key found in the `verificationMethod` section of the DID
Document to verify the JWT's signature. If successful your AI Agent will be
authenticated
### 4. Accessing Additional Agent Information
Once you’ve successfully authenticated the agent and verified the JWT, you'll have access to the agent’s valid DID Document.
Using the `service` field in this document, you can retrieve additional information provided by the agent. This may include:
* Ownership details
* Verified social media accounts
* Other relevant metadata
This allows your application to build a richer, more trustworthy profile of the agent.